

Emma's Ruffled Strip Quilt needed a coordinating pillowcase. The folks at The Ribbon Retreat provided me with the fabric in exchange for this tutorial. Check out my Disclosure page if you have questions!
Between the second and third grade, my family moved from Northern to Southern California. I did not take the move well, at all. In attempts to get me plugged in to my new community, my mom signed me up for dance, gymnastics, Girl Scouts, basketball, and sewing lessons.
Of all things, my mom decided that sewing lessons should be apart of the making me feel like I fit in. I took them for about a year. Anyone else wondering about how this helped with the fitting in thing? It sure didn't! Girl Scouts saved me. I put away my sewing machine and never looked back.
That is, until I found out I was pregnant with my daughter. They wanted me to pay how much for a blanket I could make myself!?! I am so glad that I pulled that sewing machine out. It's allowed me to develop a wonderful hobby and make some great things for my little girl. I am so proud to have a momma made quilt headed to her big girl bed.
What's all this have to do with today's tutorial? Well I'm reaching back to a lesson learned in the third grade. It's called the Magic Pillowcase. What makes this pillowcase magic is that all of the seams are encased. No finishing seams and no worrying about fraying through the multitude of washes that bedding requires.
You Need:
3/4 yd main fabric (Essential Dots by Moda in Peony)
1/4 yd cuff fabric (Essential Dots by Moda in White/Peony)
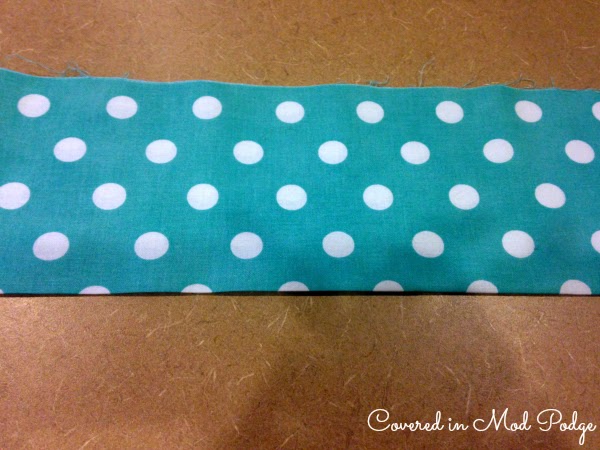
2 inches trim fabric (Dottie by Moda in Teal)
Rotary cutter, ruler, and self healing mat
Sewing machine and thread
Prewash and iron your fabric. Trim off selvedges to make all the fabrics the same widths.
Fold your cuff fabric in half, wrong sides together. Press.
Repeat for your two inch strip.

Unfold the cuff fabric and place it, right side up, on a clean work surface.

Place your main fabric on top of the cuff fabric.

Place the trim fabric on top of the main fabric. Make sure all three edges are lined up.

Grab the bottom of your main fabric and roll it up until it is about four inches from the top.

Take the bottom of the cuff fabric and fold it up over the roll. Line up the bottom of the cuff fabric with all the other edges. Pin all layers.
Now sew along that edge (with all four edges) with a presser foot seam allowance. You'll create a tube. Pull the tube right side out.

Fold the fabric in half, like a pillowcase. Trim your edges to make sure everything is even.

Now, you'll encase the side and bottom seams using French Seams. Start by folding your fabric so it looks like a pillow case, wrong sides together. Pin the along the raw side and the bottom and sew using a scant 1/4 inch seam allowance (that's fancy speak for a little less than 1/4 inch).

Turn the pillowcase wrong side out. Press well. Then, sew along the bottom and the once raw edge using a presser seam allowance. This will encase your seam. Now you've made a French Seam.

Turn your pillowcase right side out, slip in a pillow, and you're all set!

This pillowcase is holding up great, wash after wash. I love that there's no exposed seams.

No comments:
Post a Comment