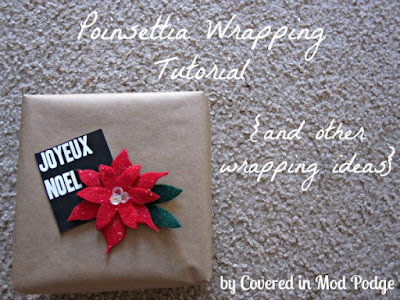
Let's be honest...Pinterest is both a blessing and a curse. There are so many great ideas from so many talent people that you can get lost in Pinterest for days. It's also very good at making you feel like a terrible mom, crafter, cook, etc. Everything just looks so dang perfect. What we don't see are the giant piles of laundry and the naked children running around. It's all about staging.
Today, I want to share some simple wrapping ideas. These ideas are quick, easy, and affordable. Most can be made with items you already have in your craft stash. My hope is that you're inspired to wrap something pretty because you enjoy it...not because Pinterest is filled with a million beautiful packages. There is nothing wrong with good old fashion tissue and gift bags.
Last year, my dear friend
Liz said she was just going to wrap all of her presents in kraft paper and add some homemade tags. Easy peasy. I loved the idea! So this year I hit the dollar store and picked up a roll of kraft paper. What could be better than a dollar for wrapping tons of presents?!?
Let's start out with the tulle pouf bow. You'll need some tulle, matching thread, and a needle.
I made this bow to cover nearly an entire 9 by 9 inch box. You can adjust your measurements based on the size of your box and how big you want your bow to be.
Cut two pieces of 10 inches by 20 inches of tulle. My tulle was left over from my daughter's Halloween costume. You can get tulle by the yard for like $2/yd at places like Joann.
Stack the two pieces of tulle on top of each other. Double thread about 10 inches of matching thread through your needle and tie a knot at the end. I used white thread so it would be easier for you guys to see.
Stitch every inch or two down the middle of your tulle.
Pull the string tight to scrunch up your tulle.
Keeping your thread pulled very tight, wrap the thread around the middle of the bow. Then, tie it in a knot.
Fluff your tulle bow and trim as needed.
I used a small dab of hot glue to secure the bow to my kraft paper wrapped box.
Do you like the tag I used? Well, you're in luck. Kelley made these very fun tags to share with all of you. Isn't just the greatest!
Now, for the felt gift bow...
I adapted
this tutorial from 100 Layer Cake to make a quick and easy felt bow. You'll need a sheet of craft felt, scissors, a ruler, and hot glue.
Start by cutting three 11.5 by 1 inch strips, three 10.5 by 1 inch strips, three 9.5 by 1 inch strips and one 2.5 by 1 inch strip.
Twist both ends of the strip to form a loop. Secure with hot glue. Repeat this process for the all but the 2.5 inch strip. Make the little strip into a circle, securing with hot glue.
Now, stack your bow layers starting with the longest. Mess around with positioning and number of loops. I ended up only using two of the medium and small ones. Once you get the bow the way you like it, use hot glue to secure. Finish the bow with the circle in the middle.
Secure the bow to your package using hot glue. This little bow can be used over and over again. Don't forget a gift tag!
Finally, let's talk circles and string.
To make this simple wrapping, you'll need baker's twine, string, or thin ribbon, patterned paper, and something to cut your circles with. I used my Silhouette. You could also use a circle punch or good old fashion scissors.
Start by cutting out three different sized circles from your patterned paper.
Wrap your twine around your package multiple times, overlapping until you like the look. Secure with a small amount of tape or hot glue.
Now, use hot glue to attach the circles to the string. Add one of Kelley's fun tag and you're good to go!
Remember, this time of year is about unconditional love, joy and family...not perfection. Don't stress if you don't have the time or energy to make every present a masterpiece!
Need gift tags? Check out Kelley's awesome free download
here!


